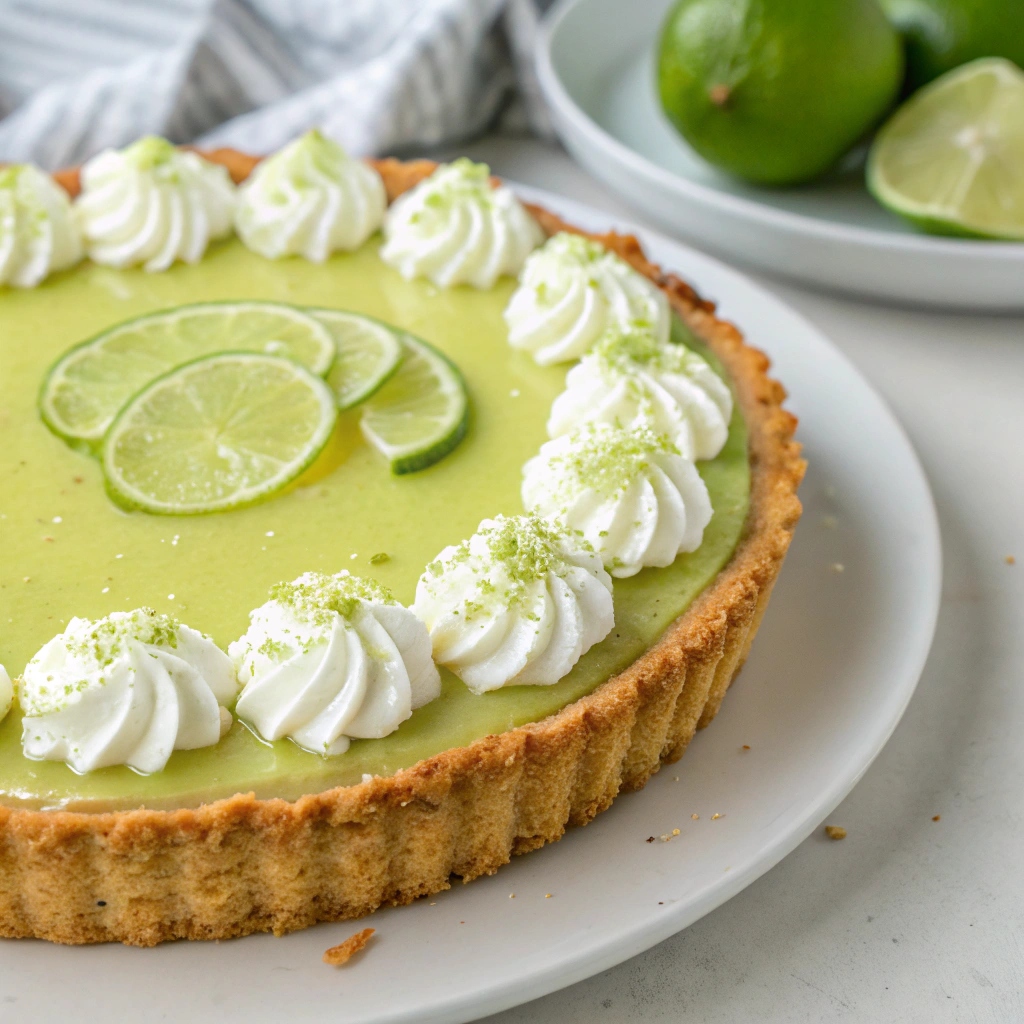
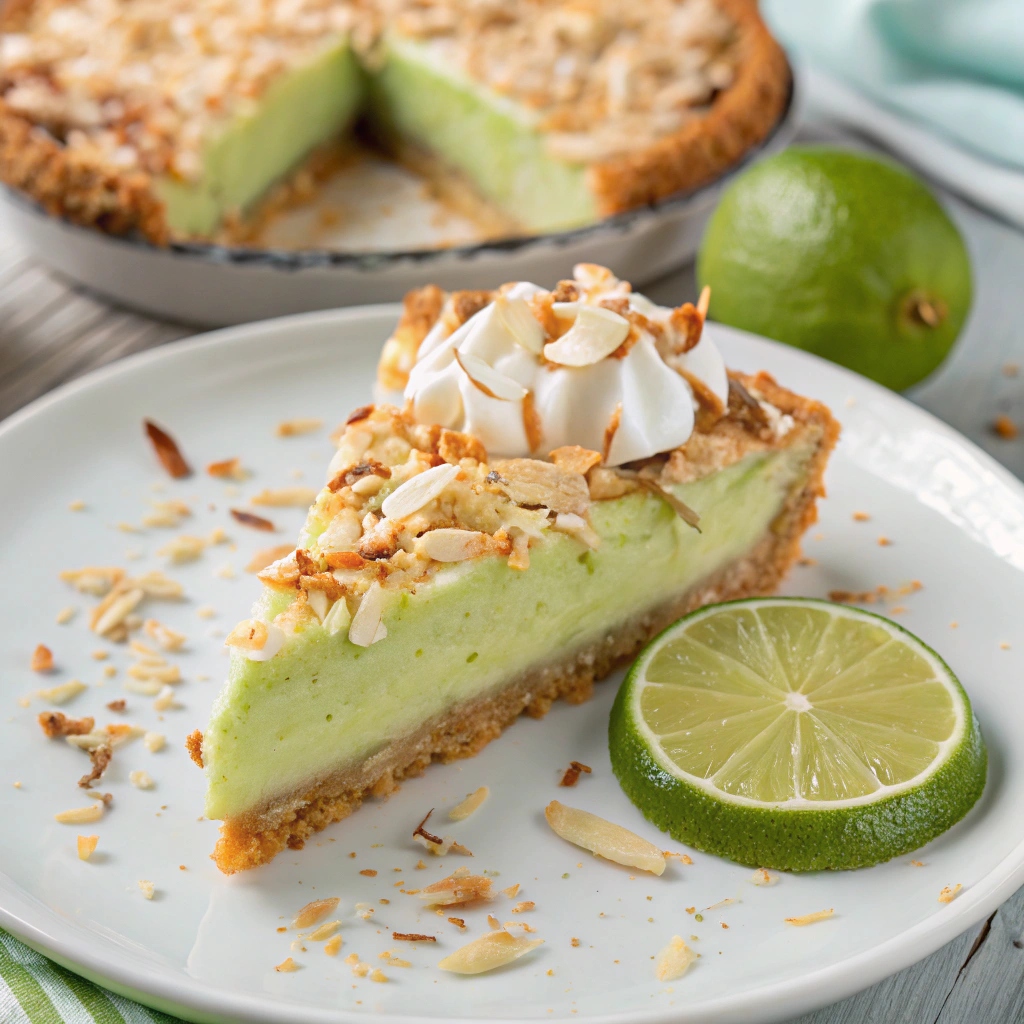
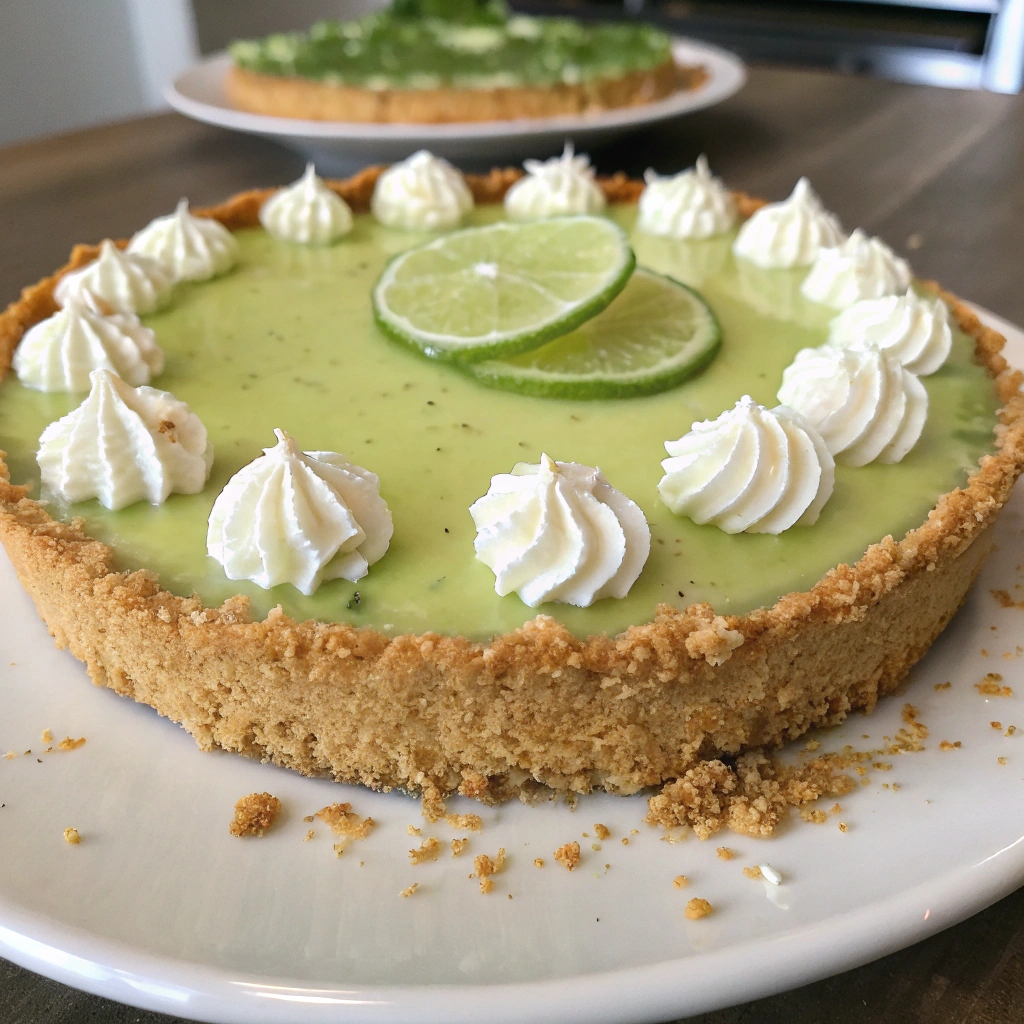
Nothing screams summer quite like a refreshing slice of Key Lime Pie. Originating from the Florida Keys, this tangy, creamy dessert has become a beloved classic in American baking. Its signature feature is the vibrant, tart lime filling made from fresh Key lime juice, nestled in a buttery graham cracker crust and topped with whipped cream or meringue. Whether you’re celebrating a special occasion or craving a cool, citrusy treat, this pie is the perfect balance of sweetness and acidity—bright, luscious, and irresistibly delicious.
What makes this Key Lime Pie recipe stand out is its simplicity and bright flavor profile. With just a handful of ingredients, you can create a dessert that’s impressively rich yet refreshingly light. The combination of tangy lime custard, crunchy crust, and creamy topping makes every bite a delightful burst of flavor. Once you master this recipe, it’s bound to become your go-to summer dessert—a perfect treat to cool down and satisfy your citrus cravings.
Why Choose This Key Lime Pie Recipe?
- Vibrant and Refreshing: The tartness of Key lime juice coupled with sweetened condensed milk creates a perfectly balanced, zesty flavor.
- Easy to Make: With simple ingredients and straightforward steps, this recipe is accessible for bakers of all skill levels.
- Creamy and Velvety: The smooth custard filling delivers a luxurious mouthfeel, complemented by a crisp graham cracker crust.
- Versatile Topping Options: Top with whipped cream, whipped meringue, or a dusting of lime zest for decoration and extra flavor.
- Ideal for Summer: It’s a cool, citrus-forward dessert that’s perfect for hot days, picnics, and parties.
The Ingredients for the perfect Key Lime Pie
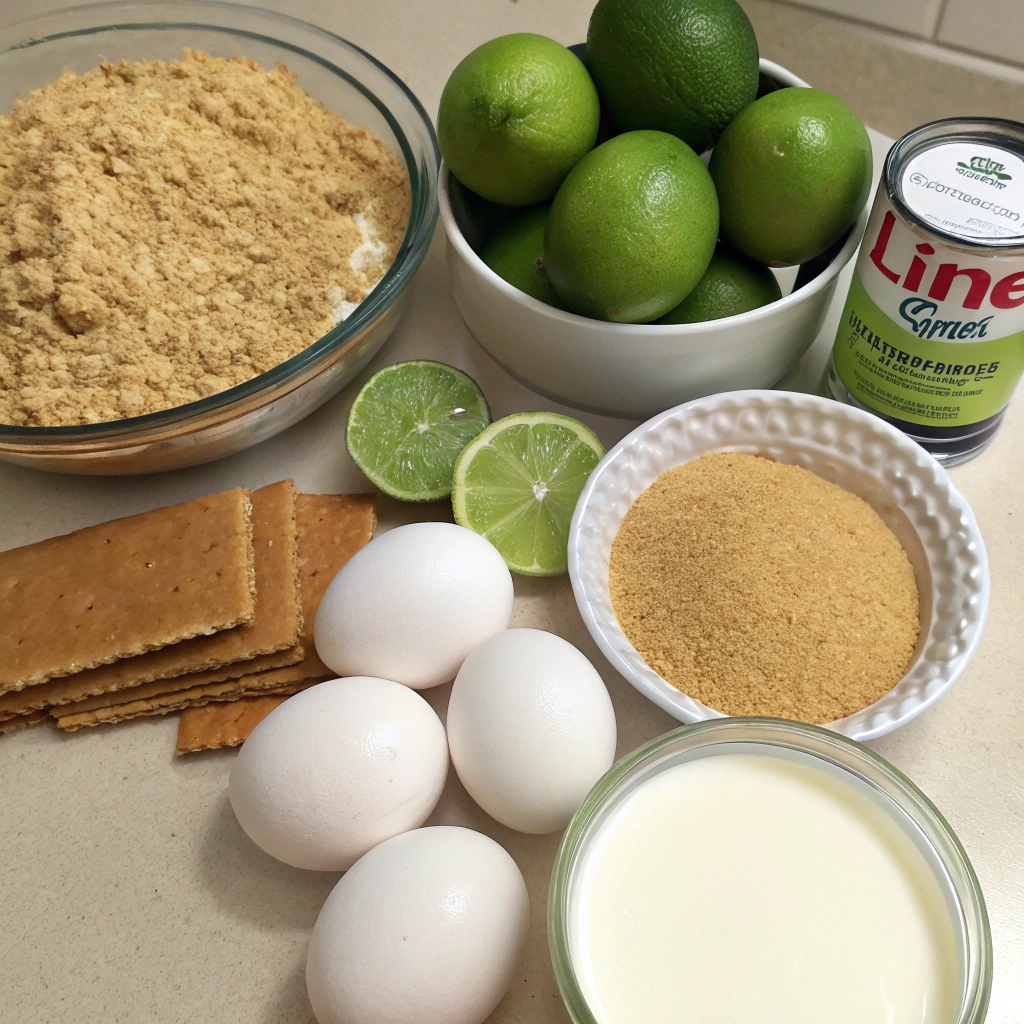
To create the perfect Key Lime Pie, you will need the following ingredients:
- Key lime juice: Freshly squeezed for the best flavor.
- Sweetened condensed milk: Adds sweetness and creaminess.
- Egg yolks: Provides structure.
- Breadcrumb crust or graham cracker crust: The classic choice for the base.
- Whipped cream: For topping, adds lightness and richness.
Using fresh key limes instead of bottled juice enhances the flavor and authenticity of the pie.
ingredients for Best Key Lime Pie recipe
- 1 1/2 cups graham cracker crumbs
- 1/3 cup granulated sugar
- 1/2 cup unsalted butter, melted
- 3 large egg yolks
- 1 can (14 oz) sweetened condensed milk
- 1/2 cup fresh Key lime juice (or regular lime juice if Key limes aren’t available)
- 1 teaspoon lime zest (optional for extra zestiness)
- Whipped cream or meringue (for topping)
- Lime slices or zest (for garnish)
Step-by-Step Recipe for the Perfect Key Lime Pie
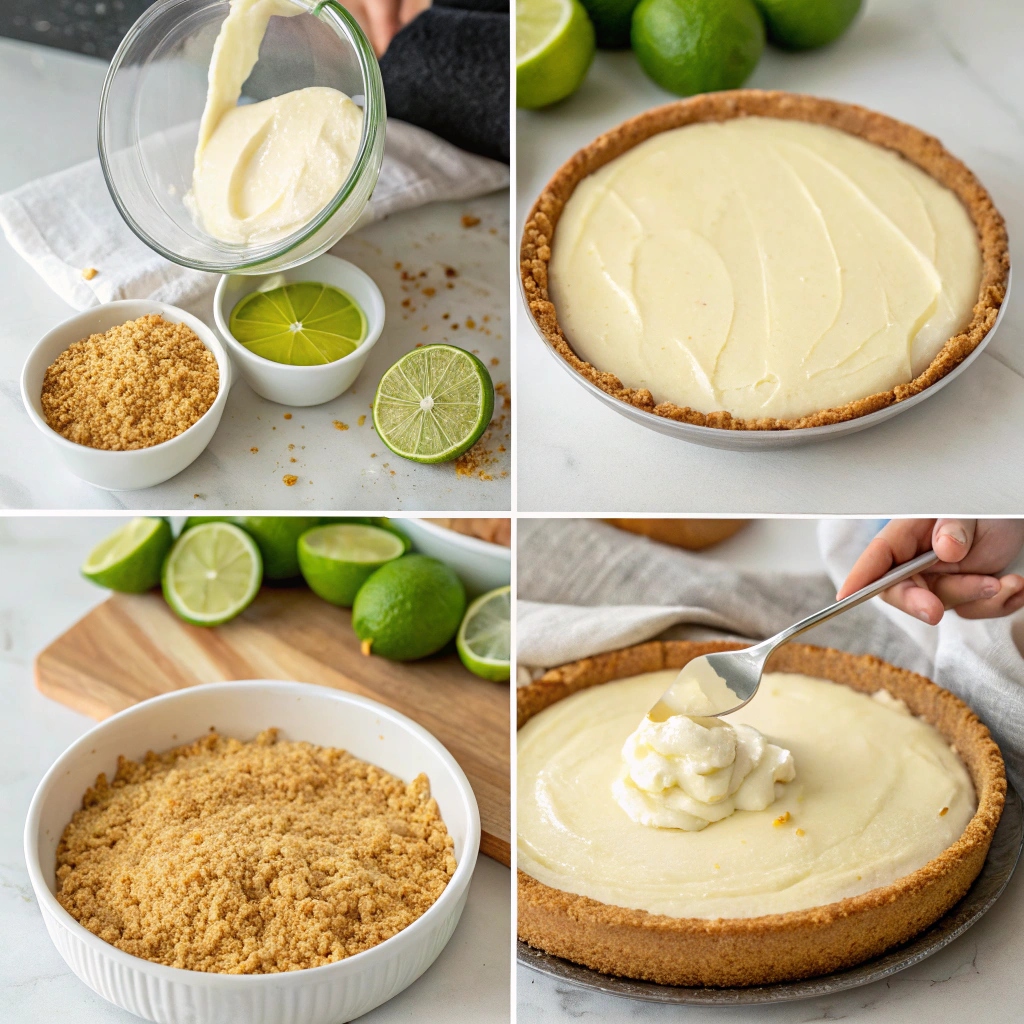
1. Prepare the Crust
In a medium bowl, combine 1 1/2 cups of graham cracker crumbs, 1/3 cup of granulated sugar, and 1/2 cup of melted unsalted butter. Mix thoroughly until the crumbs are evenly coated and resemble wet sand. This helps the crust stick together when baked.
Press this mixture firmly into the bottom and up the sides of a 9-inch pie dish. Use the back of a spoon, a flat-bottomed glass, or your fingers to press evenly and tightly, ensuring a solid base.
Bake at 350°F (175°C) for about 8-10 minutes until the crust is lightly golden and fragrant. Remove from the oven and let cool slightly on a wire rack.
2. Make the Filling
While the crust cools, prepare the filling. In a large mixing bowl, whisk 3 large egg yolks until slightly thickened and smooth. This helps prevent the yolks from curdling when combined with the condensed milk.
Add 1 can (14 oz) of sweetened condensed milk and whisk until fully incorporated. Then, add 1/2 cup of fresh Key lime juice (squeezed from about 10-12 Key limes) and 1 teaspoon of lime zest if desired, and whisk until the mixture is smooth and uniform. The acidity of the lime juice will cause the mixture to thicken slightly, creating that luscious custard texture.
3. Pour the Filling into the Crust
Carefully pour the lime filling into the cooled graham cracker crust. Use a spatula to spread the filling evenly, smoothing the top for a clean finish. Be gentle to avoid disturbing the crust.
4. Bake the Pie
Bake the pie in the preheated oven at 350°F (175°C) for about 10 minutes. The filling should have set around the edges but still jiggle slightly in the center—this is perfect. Overbaking can cause cracks and dry out the filling, so keep an eye on it.
Once baked, remove from the oven and let cool at room temperature for 15-20 minutes.
5. Chill the Pie
Transfer the pie to the refrigerator and chill for at least 2 hours, or ideally overnight. Chilling allows the filling to fully set and develop a rich, velvety texture. Cover the pie loosely with plastic wrap or a cake dome during chilling to prevent it from absorbing fridge odors.
6. Add Topping and Garnish
Just before serving, top your Key Lime Pie with whipped cream or whipped topping. For an extra touch, add thin lime slices or sprinkle additional lime zest over the top. For a more elegant look, pipe whipped cream in decorative swirls or rosettes around the edges.
Additional Tips for Success
- Use freshly squeezed Key lime juice: Avoid bottled lime juice for the brightest and most authentic flavor.
- Prevent cracks: Bake just until set and avoid overbaking. After baking, do not open the oven door suddenly—wait until cooling.
- Chill thoroughly: Patience in refrigeration makes all the difference in achieving a smooth, sliceable finish.
- Slice with a warm knife: Dip a sharp knife in hot water, wipe dry, then slice for clean cuts.
Mistakes to Avoid When Making Key Lime Pie
1. Using Bottled or Premixed Lime Juice
Bottled lime juice lacks the fresh, vibrant tartness of real Key limes and can sometimes be overly sweet or dull. Always opt for freshly squeezed Key lime juice for an authentic flavor that truly shines in your pie.
2. Overbaking the Filling
This custard-like filling can crack or become dry if overbaked. The key is to bake just until the edges are set but the center still jiggles slightly when gently shaken. Keep a close eye, and remember that it firms up as it cools.
3. Forgetting to Chill the Pie
Skipping the refrigeration step results in a runny filling and less flavor meld. Chill the pie for at least 2-4 hours, preferably overnight, to allow flavors to develop and the filling to set properly.
4. Not Using a Proper Crust
A soggy or crumbly crust ruins the experience. Make sure to press the crust firmly into the pan and pre-bake it until lightly golden to ensure a crisp base that holds the filling well.
5. Overmixing the Filling
Overbeating the custard can incorporate excess air, leading to cracks or a rough texture. Mix ingredients until just combined for a smooth, creamy filling.
6. Adding Toppings Too Early
Toppings like whipped cream or fresh fruit should be added just before serving. Adding them too early can cause them to wilt or become soft, diminishing visual appeal and texture.
7. Neglecting to Seal the Pie Properly
Without proper covering during chilling, the pie can absorb fridge odors or dry out. Cover the pie with plastic wrap or a dome to keep it fresh and flavorful.
8. Using Old or Low-Quality Ingredients
Old graham crackers, stale coconut, or expired condensed milk can negatively affect texture and flavor. Use fresh, high-quality ingredients for the best results.
9. Not Adjusting Sweetness and Tartness
Tasting the filling before baking helps you adjust the lime juice and sugar levels. If it’s too tart, add a little more sweetened condensed milk; if too sweet, add more lime juice.
Serving Ideas for Key Lime Pie
Perfect Key Lime Pie can be served in a variety of ways:
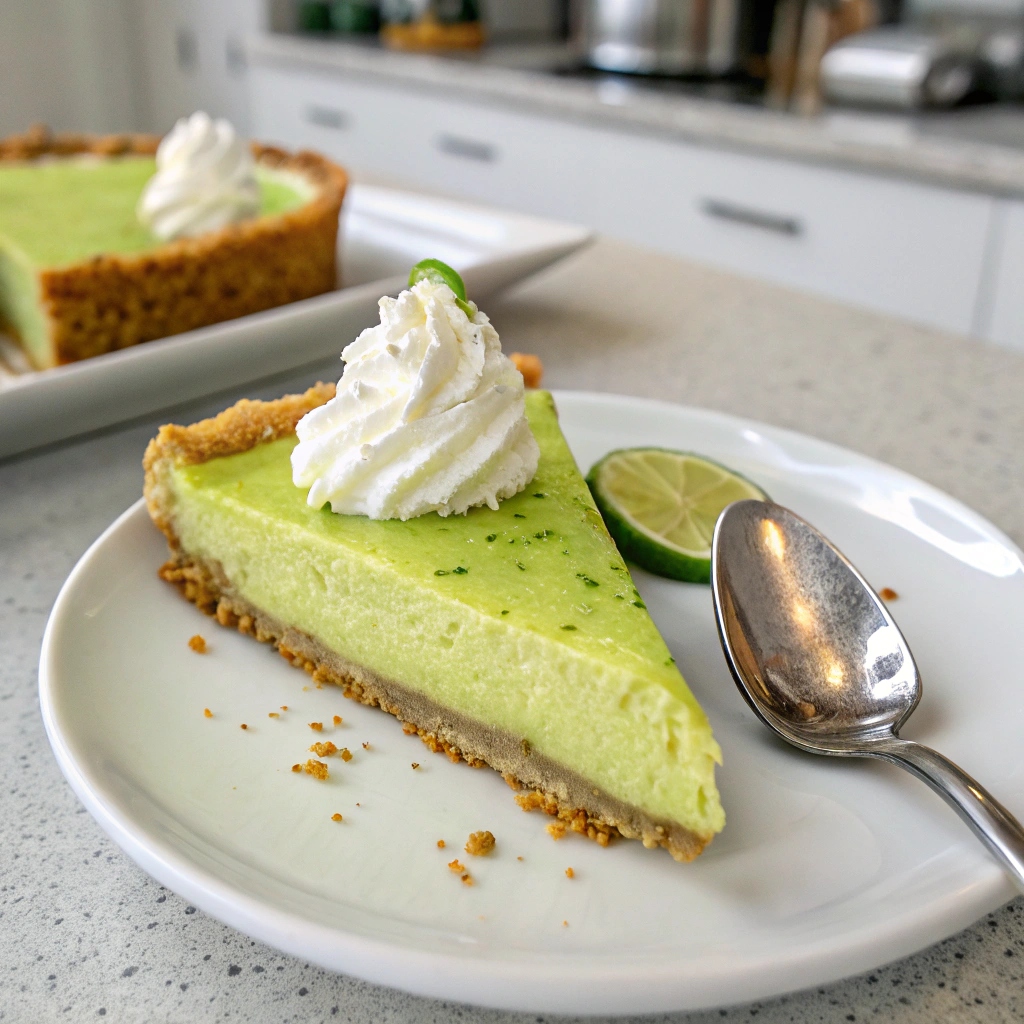
- 1. Classic Presentation
- Slice the pie neatly and serve individual pieces topped with a dollop of whipped cream. Garnish with a sprinkle of fresh lime zest to intensify the citrus aroma, and add thin lime slices or wedges on the side for a colorful, festive touch. This presentation is perfect for outdoors summer gatherings, brunches, or holiday desserts.
- 2. With Fresh Fruits
- Elevate the tartness and refresh your palate with fresh berries such as raspberries, blueberries, or sliced strawberries alongside each slice. Additional lime wedges or segments add a zesty punch, making the dessert even more vibrant and suitable for a light, summery vibe.
- 3. For a Special Occasion
- Create an elegant display by piping whipped cream in decorative rosettes or swirls around the edges of the pie. Decorate the top with edible flowers, candied lime slices, or tiny sprigs of herbs like mint for a sophisticated look. Using metallic or pastel-colored serving dishes adds a touch of luxury, perfect for birthdays, anniversaries, or dinner parties.
- 4. As a Refreshing Summer Dessert
- Serve slices with a side of iced herbal tea, sparkling water, or lemonade infused with lime slices. For an extra cooling effect, refrigerate the slices well before serving. Garnish with mint leaves to add freshness, making it an ideal dish for hot day celebrations or barbecues.
- 5. Pairing with Beverages
- Complement the tartness with light, citrus-based cocktails, such as a Margarita or a lemon-lime soda. For non-alcoholic options, serve with lime-infused sparkling water or iced tea for a crisp, refreshing experience.
Variations Ideas for Key Lime Pie
1. Coconut Key Lime Pie
Add shredded coconut to the crust mixture or sprinkle toasted coconut flakes on top of the finished pie for a tropical flavor. Incorporate some coconut milk into the filling for extra creaminess and coconut aroma, turning a classic into a delightful island-style dessert.
2. No-Bake Version
For a quick, fuss-free alternative, replace the baked graham cracker crust with a no-bake crust made from crushed cookies (like Oreos or digestive biscuits) mixed with melted butter. Pour in the prepared lime filling and set in the fridge for at least 4 hours or overnight. This makes the recipe more accessible during hot weather or for last-minute gatherings.
3. Creamy Meringue Top
Swap the whipped cream topping for a fluffy meringue (beaten egg whites with sugar). Pipe into decorative peaks on top of the pie and lightly toast with a kitchen torch until golden. This traditional “Lemon Meringue” style finish adds a delightful texture contrast and a show-stopping look.
4. Gluten-Free
Use gluten-free graham cracker crumbs or digestive biscuits to make a gluten-free crust. Combine with melted butter and bake or press into the pan for a crust that’s safe for gluten sensitivities. Consider adding chopped nuts or seeds for extra crunch and nutrition.
5. Dairy-Free and Vegan
Replace condensed milk with coconut condensed milk or a blend of coconut cream and agave syrup. Use whipped coconut cream instead of dairy whipped cream for topping. This makes the key lime pie suitable for vegan and dairy-free diets without sacrificing flavor.
6. Layered or Mini Pies
Make mini individual pies using tart pans or cupcake liners. This is perfect for parties or when serving guests in smaller portions. Decorate each with a small lime twist, a cherry, or a dollop of whipped cream.
7. Add a Touch of Spices
Enhance the flavor profile by adding a pinch of cinnamon, ginger, or cardamom into the filling for a more exotic taste.
For another delicious baked treat, check out our Blueberry Coffee Cake recipe, perfect for breakfast or a cozy snack. Find the full recipe and tips here: Blueberry Coffee Cake.
Storing the Perfect Key Lime Pie
1. Cool Completely Before Storing
Allow your pie to cool to room temperature after baking. This prevents condensation from forming on the surface, which can make the crust soggy and affect texture.
2. Use Proper Covering
Once cooled, cover the pie tightly with plastic wrap or aluminum foil. If you have a pie dome or cake carrier, use that to protect the surface and keep the flavors intact. Avoid exposing the surface to air for extended periods.
3. Refrigerate Properly
Key Lime Pie should be refrigerated to keep the filling firm and prevent spoilage. Store in the fridge for up to 3-4 days. The acidity of the lime and the custard base makes it quite stable, but it’s best enjoyed fresh for the best flavor and texture.
4. Freezing for Longer Storage
- Unfrosted Pie: Wrap the whole pie tightly in plastic wrap, then in foil. For individual slices, wrap each slice carefully in plastic wrap and place in an airtight container or freezer bag.
- Frosted Pie: It’s best to freeze the pie without toppings like whipped cream. Add whipped topping or decorations after thawing.
- Freeze for up to 2 months. Thaw overnight in the refrigerator and add fresh toppings just before serving to maintain freshness.
5. Reheating and Serving
- Cold: Serve directly from the fridge for a firm, chilled experience.
- Room Temperature: For a softer texture, let the pie sit out for 15-30 minutes before serving.
- Avoid microwaving: Reheating in the microwave can cause the filling to become watery or over-softened. If necessary, gently warm slices in short bursts to avoid melting the topping.
6. Tips for Best Preservation
- Always keep the pie covered to prevent it from absorbing fridge odors.
- If the whipped cream topping starts to deflate after several days, you can re-top the slices with fresh whipped cream before serving.
- For extra freshness, add lime zest or thin lime slices just before serving, as these can dry out or lose their vibrant color over time.
FAQs About the perfect Key Lime Pie
Q: What are the key ingredients in a traditional Key Lime Pie?
A: The classic Key Lime Pie is made with fresh Key lime juice, sweetened condensed milk, egg yolks, a graham cracker crust, and topped with whipped cream or meringue.
Q: Can I use regular lime juice instead of Key lime juice?
A: Yes, but the flavor will be less distinctive. Key lime juice has a unique tartness and aroma, so for the authentic taste, it’s best to use fresh Key limes.
Q: How long does it take to make a Key Lime Pie?
A: The preparation takes about 20-30 minutes, plus at least 2 hours of chilling time in the fridge to properly set the filling before serving.
Q: Is Key Lime Pie suitable for make-ahead preparation?
A: Absolutely. The pie needs to be refrigerated for several hours or overnight to set perfectly. It tastes even better after resting, so plan ahead and make it the day before serving.
Q: How do I store leftover Key Lime Pie?
A: Keep the pie covered tightly in the refrigerator for up to 3-4 days. For longer storage, freeze the uncut pie wrapped in plastic wrap and foil for up to 2 months.
Q: Can I make a vegan or gluten-free Key Lime Pie?
A: Yes! Use plant-based sweetened condensed milk (or coconut condensed milk), dairy-free whipped topping, and gluten-free graham cracker crumbs or cookies. Adjust ingredients accordingly for dietary needs.
Q: How do I prevent cracks in my Key Lime Pie?
A: Bake just until the filling is set but still slightly jiggles. Avoid overbaking and let the pie cool slowly at room temperature before chilling. Also, don’t open the oven door during the last few minutes of baking.
Q: What are popular toppings for Key Lime Pie?
A: Whipped cream, lime zest, thin lime slices, toasted coconut, or whipped merengue are all popular and beautiful finishing touches.
Final Thoughts on Key Lime Pie
Key Lime Pie is a bright, refreshing dessert that captures the vibrant flavors of the Florida Keys in every bite. Its perfect balance of tartness, sweetness, and creamy texture makes it an all-time favorite for summer gatherings, special occasions, or when you simply want a cool, citrusy treat. Whether you prefer a classic recipe topped with whipped cream or a more creative variation with toasted coconut or meringue, this pie is versatile and sure to impress.
With simple ingredients and straightforward steps, mastering this delightful dessert is easy, and the result is a stunning, flavorful pie that’s perfect for sharing and creating sweet memories. So, gather your ingredients, follow the steps, and indulge in a slice of sunshine with this irresistible Key Lime Pie!
You can also explore our Chocolate Custard Cake for a different dessert experience, or follow up your pie with a comforting bowl of Homemade Tomato Soup for a well-rounded meal.
Enjoy your baking adventure, and don’t hesitate to share your results with family and friends!
For more delicious recipes and baking inspiration, come join us on Facebook at RyanRecipes. Follow us to stay updated with our latest creations and share your culinary adventures with our vibrant community!